Pages

Sunday, July 20, 2014

DIY Succulent Terrarium

A couple of weeks ago, I made a visit to World Market. They currently have a seasonal botanist collection and there were these hanging terrarium globes displayed. I instantly became inspired to create my own terrarium. Because World Market isn't always cheap and they didn't have the real plants I wanted, I decided to find cheaper alternatives.

Materials:
- Bowl (Dollar Tree $1)
- Moss (Dollar Tree $1)
- Rocks (Dollar Tree $1)
- Cactus Soil (Lowe's $4.25)
- Sand (Joann's $2.99 w/o coupon)
- Succulent (Lowe's $2.50)

Step 1: 
Fill the bottom of your terrarium with a one or two inch layer of rocks or pebbles. This serves as a drainage for the succulents. 

Step 2:
Add potting soil. I recommend using the above potting soil. If you cannot find that specific kind, any easy draining soil will work. Make sure your potting soil is specifically for cactus and succulents. Regular potting soil will not allow these plants to live very long.

Your terrarium should look something like this:

Step 3:
Add your succulent in! Of course you can add more than one, but my bowl only fits one. I also forgot to take a picture before I added the sand so I just took it midway. 

Step 4:
Add the sand! Add a thin layer of sand right on top of the soil. I also added a few white rocks for decoration. I decided to leave the sand like so instead of adding the moss on top because it's already such a tiny terrarium that I didn't want to overcrowd it. If your terrarium is larger, go ahead and add moss! Make it as green as you can :)

Finish!
Yay! You're finished with your terrarium! Be sure to water it every two weeks and fertilize it once a month from May - September. Also, give it about 5 - 6 hours of sunlight daily. Don't leave it out in the sun for too long or your might burn it. Have fun caring for your succulents!

~Misbah

Friday, July 18, 2014

Do's and Don'ts of the Masjid


I go to the Masjid almost every Friday and every time I am met with various challenges that deter me from my concentration during prayer. The following is a list of things that people (more centered to women) should and should not do at the masjid.

DO come into the prayer room silently and give salaam to everyone. 

DO NOT come in with your group of friends, laughing, and giggling. Many people are praying their 2 rakah masjid prayer. Some even do more for sunnah. When you come in loudly you are disturbing everyone. Please be respectful of everyone and their prayer. 

DO turn of your cell phones.

DO NOT keep it on or leave it on silent. This is one of my biggest pet peeves because during the khutbah, tons of cell phones go off. Some even go off during prayer and the ring tone tends to be the new hit song which is totally out of line for the masjid. Even if you silence it, somehow the phone may go off. So please be considerate and just turn it off. Also, please do not give your children your cell phone to play with. This actually leads me to the next thing.

DO stay with your young children at home if your masjid does not have a separate women with children area.

DO NOT bring your young children and expect them to be silent during the entirety of the prayer. They will not. They will cry, run around, scream, and cause all sorts of distractions. If you are bringing your child, make sure they are old enough to understand that they must be silent the entire time. I've had it with constantly crying babies and children who are always running around everywhere. And if you do bring your child, please please please do not allow them to bring in food. They are children and they will make a mess. 

DO come to prayer early. You get more sunnah for being the first in the masjid. 

DO NOT come to prayer during the khutbah. The khutbah is part of your prayer. If you are not there for the entirety of the khutbah then your Friday prayer is not complete. 

DO sit quietly during the khutbah and listen to what the imam is saying. 

DO NOT assume that it is social hour and begin gossiping with your friends. Treat the khutbah like it is your prayer. You wouldn't speak to others while praying would you?

DO come to the masjid properly dressed.

DO NOT begin putting on your abaya and hijab when you walk into the prayer room. 

DO (if you are selling things) sell outside of the actual masjid.

DO NOT sell inside the masjid. It not only causes congestion, but is also not allowed.

DO pray to yourself.

DO NOT pray so loudly that the entire room can hear you. I've experienced this many times where someone sits next to me and begins praying their two rakats and they pray so loudly that I can hear every word. 

In no way am I trying to offend anyone or be the "haram police" but I've been mentally compiling this list for a while and I feel like I'm not the only one who notices these actions being done at the masjid. Maybe this will help some of you out with masjid etiquette! 

Jummah Mubarak! 

~Misbah 


Wednesday, July 16, 2014

Indoor Gardening: DIY Mini Drainage Dish

In my last post, I used a cute growing kit to plant a couple of Forget-Me-Not seeds. The pot included in the growing kit didn't include a drainage dish which is detrimental to a growing plant. I could have gone to Lowe's and picked up one of those mini dishes, but I thought, why not just use my awesome clay making skills and create one? AND SO I DID.

Materials:
-Molding clay (I used Sculpey)
-An oven
-Mod podge (optional)
-Paint (optional)
-Paint brush

1. Take out two large pieces of clay and roll them into a ball. They should be quarter-sized. If not, adjust the amounts! Put one ball of clay aside. With the other ball of clay, flatten it out into a circle that should be a little larger than the terra-cotta pot. Make sure it is at least 2 cm thick. 

2. Take the other ball of clay and roll it out into a tube that is long enough to wrap around the circle (the base). When you have the correct length, push down on the tube to flatten it. It should look like a flat rice noodle. 

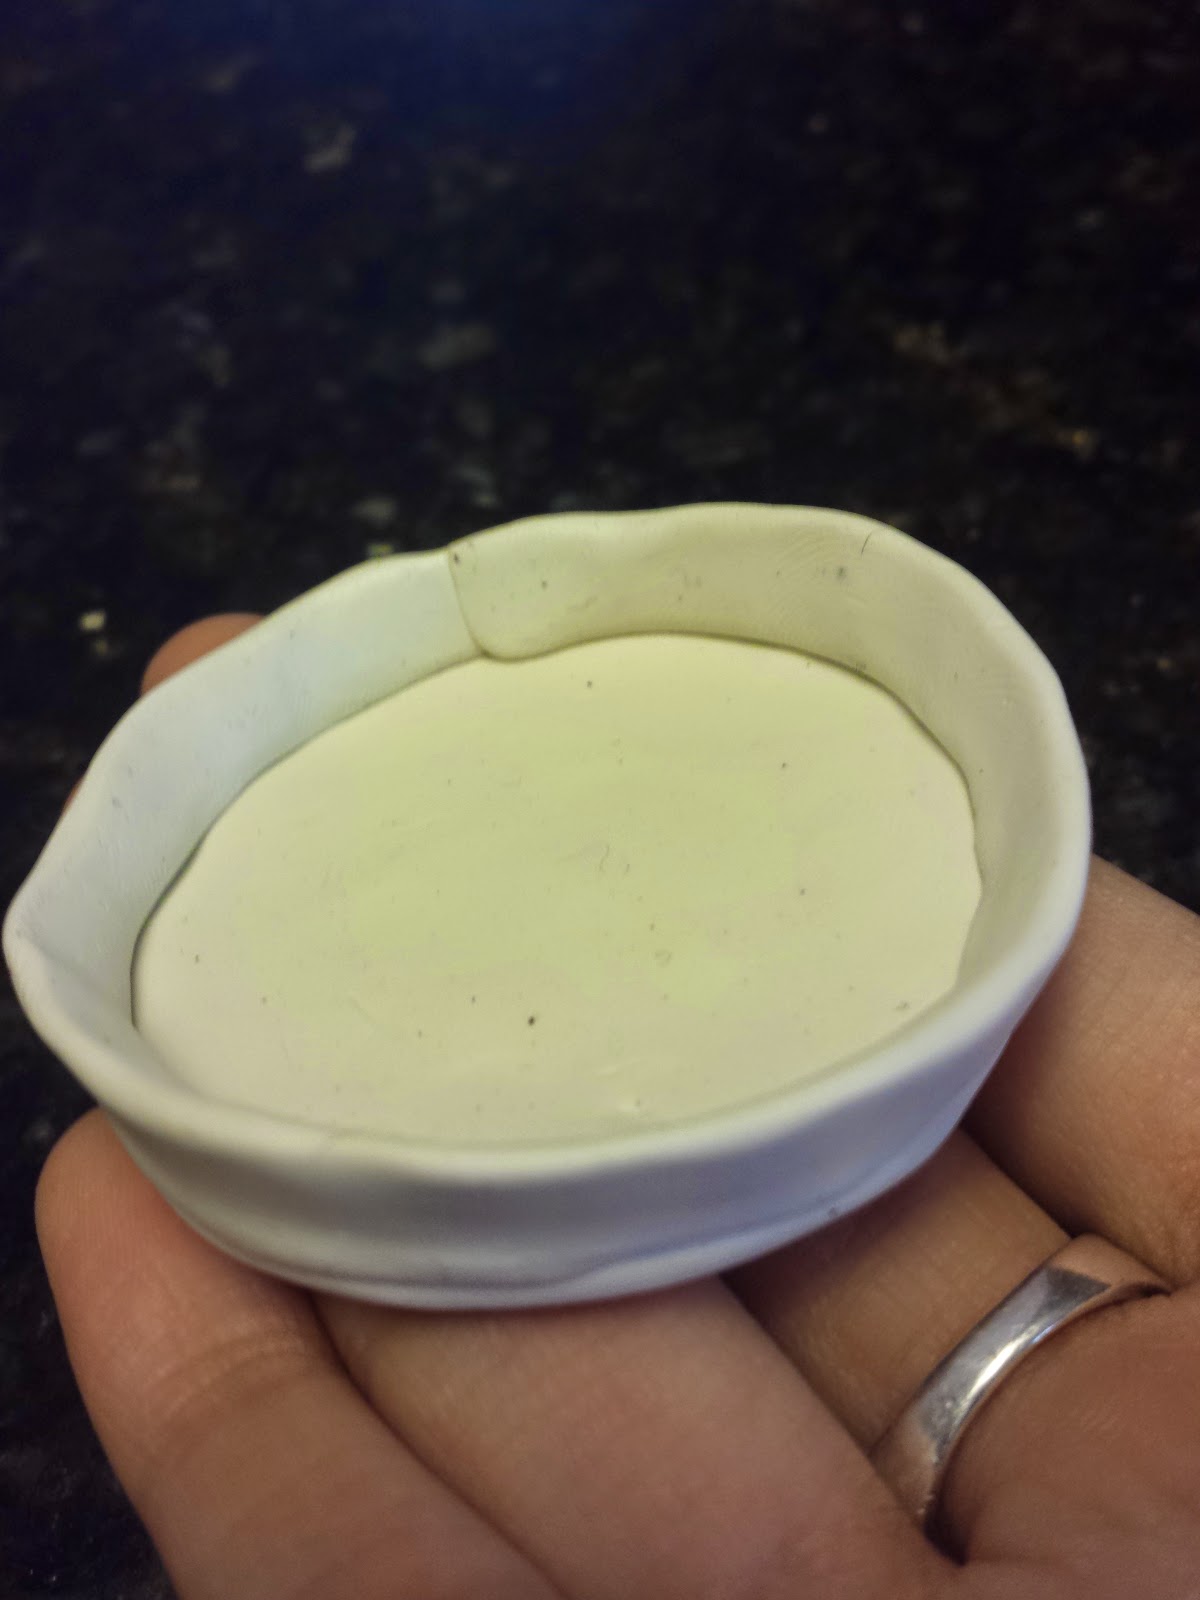
3. Wrap the flat noodle around the base and press down to secure. I left my seams showing, but you can smooth them out. Make sure the noodle is secured to the base or when baking, it will fall apart. Once you've gotten it at a shape you like, place it in the toaster oven on high for about 5 min - 10 min. Before I place it in the oven, I like to put it on a piece of foil with the dull side facing up. The timing really just depends on the oven so make sure you watch it and peek in periodically to make sure it's not burning. 

4. As you can see, I burnt mine. But it's okay because that can be covered up with paint! The next step is optional. If you like how your drainage dish looks, then skip to step 6. 


5. I used the color "Bluebird" from my Bella Acrylics set. I decided to mirror the colors of the Forget-Me-Not's.

6. In order to keep your dish from rotting or getting yucky, I recommend glazing it. You can use any type of glaze - I know there are special ones just for clay, but I just stuck with Mod Podge with gloss!

And now you're finished! It began raining so the lighting is all off, but isn't it just adorable?! 

~Misbah

Indoor Gardening: Forget-Me-Not Grow Kit

While cleaning out my closet the other day, I found an itsy bitsy growing kit for Forget-Me-Not's! I remember someone giving it as a gift to me about two years ago, and I totally forgot about it... But fear no more! I am going to plant these little seeds and grow these flowers ASAP!

Target $1
The kit was obviously part of some Valentine's day collection due to the hearts and the theme of the box. But you have to admit, it is awfully cute.


When you open the box, out pops the seed packet, soil disc, and pot. It's a plastic mimic of a terra-cotta pot! It's so cute because it's all tiny. Now let's get down to business!

The first step is to take out the soil disc (growing medium) and place it in a bowl. Then add 3 tbs of water. And what happened next amazed me. The soil immediately absorbed ALL the water and grew. It was as if it was its own being. It was creepy. 

Next, put the soil into the pot provided. I used a spoon since some of the leftover bits of soil and water was too mushy to handle with my hands.

Now it's time to add the seeds! These seeds look a little frightening don't they? They have spikes as if they are in some type of self defense mode.

Finally, press no more than 6 seeds into the soil. Make sure they're in there or they won't germinate! Forget-Me-Not's take about 8-10 weeks to germinate so be patient. They also require plenty of sunlight so keep them near a window and they need to be watered daily! Not too much though - just a little spritz. 

I love this kit because it gives you so many seeds and it's great for a beginner flower gardener like moi. I can grow veggies and fruit, but flowers always die on me. I think I have about 20 more leftover seeds in the packet that I'll be using for my front garden! 

The only con to this kit is that they have no drainage dish for the pot - so I decided to make one out of clay! I'll be linking to that tutorial soon.

UPDATE: Click here for the DIY drainage dish! 

Have fun gardening! 

~Misbah